Installing a roller garage door might seem intimidating at first. You look at the rolled up door, the brackets, the springs under tension, and wonder if you should just hire someone. Professional installation typically costs $350 to $650, and that adds up when you consider the door itself already represents a significant investment.
The good news is that you can install a roller door yourself with basic DIY skills and the right guidance. Most people complete the job in 90 to 120 minutes with a helper. You save hundreds of dollars and gain confidence knowing your door was installed correctly because you did it yourself.
This guide walks you through the entire process from start to finish. We cover everything you need before you begin, how to measure and prepare your opening, mounting the door and setting spring tension, fitting the tracks and locks, and essential maintenance checks. You get clear instructions, safety tips, and practical advice based on real installations across Australia.
What you need before you start
You need to gather the right tools, check your safety equipment, and verify your installation area before you learn how to install a roller garage door. Working with spring-loaded tension requires preparation, and missing even one essential item can halt your progress halfway through the job. If this is your first installation, set aside two to three hours and arrange for a helper, as it can be difficult to safely mount the door alone.
Safety equipment and prerequisites
Your safety comes first when handling roller doors. You must wear safety goggles, work gloves, and steel-capped boots throughout the installation. The door arrives with strapping around the roll, and you must not remove this strapping until the specific step in the instructions. Spring tension can cause serious injury if released prematurely.
Check that your walls can support the door weight. Brick, concrete, timber frame, and steel purlins all require different fasteners, and you need to confirm which type matches your structure. The area above your doorway needs enough clearance for the rolled-up door, typically 400mm to 600mm depending on your door size.
Make sure you have a clear, obstruction-free work area with adequate lighting before you begin the installation process.
Tools and materials checklist
You need these tools for a standard installation:

- Two step ladders (one for each person)
- Laser level and spirit level
- Power drill with drill bits suitable for your wall material
- Socket set and adjustable spanners
- Screwdrivers (Phillips and flat-head)
- Pipe wrench for spring adjustment
- Tape measure and pencil
- Stanley knife
- Softwood chock approximately 400mm long
What your door package includes
Your roller door arrives with the door curtain pre-rolled on the barrel, guide tracks, mounting brackets, and an installation parts box. The parts box contains fasteners appropriate for different wall types, U-bolts, saddles, washers, and any locks or handles you ordered. Check everything against the packing list before you start, as missing components will stop your installation.
Step 1. Measure and prepare the opening
Accurate measurements form the foundation of a successful roller door installation. You must measure twice and verify your numbers before ordering your door, as custom-made doors cannot be returned if you measure incorrectly. When you learn how to install a roller garage door, this step determines whether everything else proceeds smoothly or creates frustrating problems.
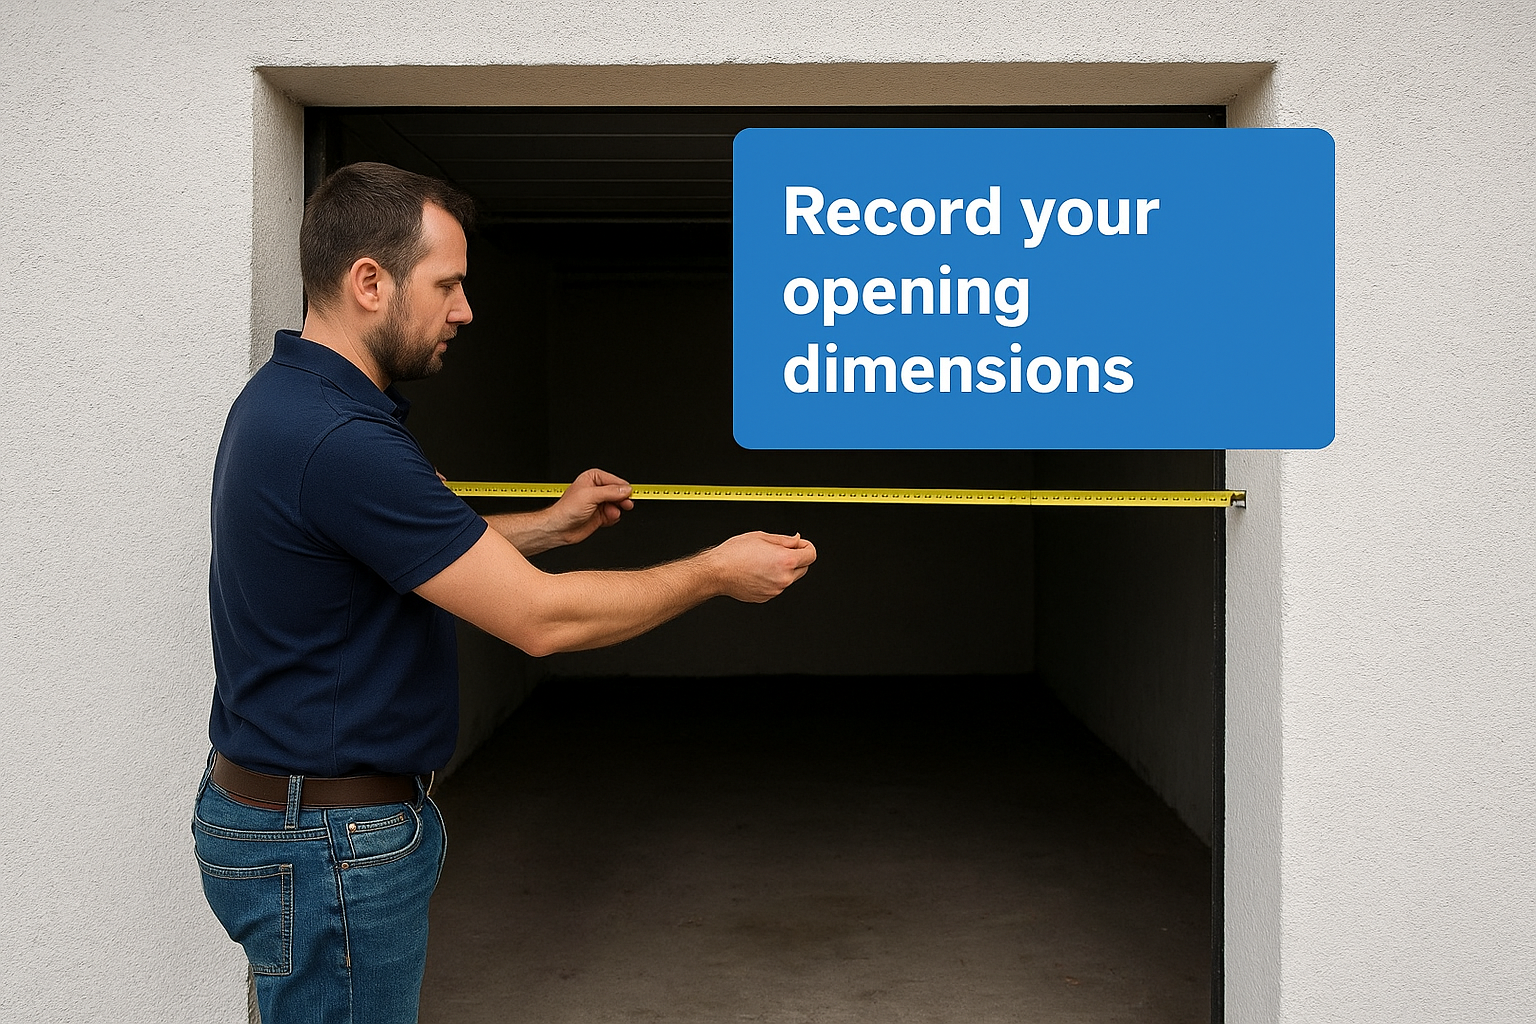
Record your opening dimensions
You need to measure the width and height of your doorway opening at three different points for each dimension. Measure the width at the top, middle, and bottom of the opening. Measure the height on both sides and in the centre. Use the smallest measurement from each set, as this ensures your door fits properly even if your opening is slightly out of square. This is Opening size - NOT door size that you need to specify on the order.
Write down these critical measurements:
- Door width: Smallest width measurement (add track allowance based on your door size)
- Door height: Smallest height measurement
- Head clearance: Distance from top of opening to ceiling or roof structure
- Side clearance: Space available on each side for guide tracks
Your door requires specific additional width for the inside line of the brackets. Residential doors up to 3,430mm wide need 25mm either side, while doors over 3,430mm wide need 50mm either side. Semi-commercial and NovaTaur doors need 50mm either side regardless of width.
Check structural requirements and clearances
Your wall structure dictates which fasteners you use. Steel purlins need self-drilling screws, timber frames need 8mm x 50mm coach screws, and brick or concrete walls need M8 expansion bolts. The installation parts box generally, but not always includes fasteners for steel, but you must purchase timber screws or masonry expansion bolts separately.
You need sufficient headroom above the opening to house the rolled door and barrel assembly, typically 400mm to 600mm depending on your specific door model.
Walk through your work area and remove any stored items, vehicles, or obstacles. Verify that the surface above your doorway sits flush without protruding pipes, cables, or structural elements that could interfere with the door barrel. Check that you have clear access to both sides of the opening and adequate lighting for precise drilling and alignment work.
Step 2. Mount the door and set tension
This step requires precision and careful attention to safety protocols. You will mount the bracket assemblies to your walls, lift the rolled door into position, and then apply the correct spring tension before releasing the protective strapping. Work methodically and never rush this stage, as spring tension creates significant force that can cause injury if mishandled. Your helper must stay actively involved throughout this entire process.
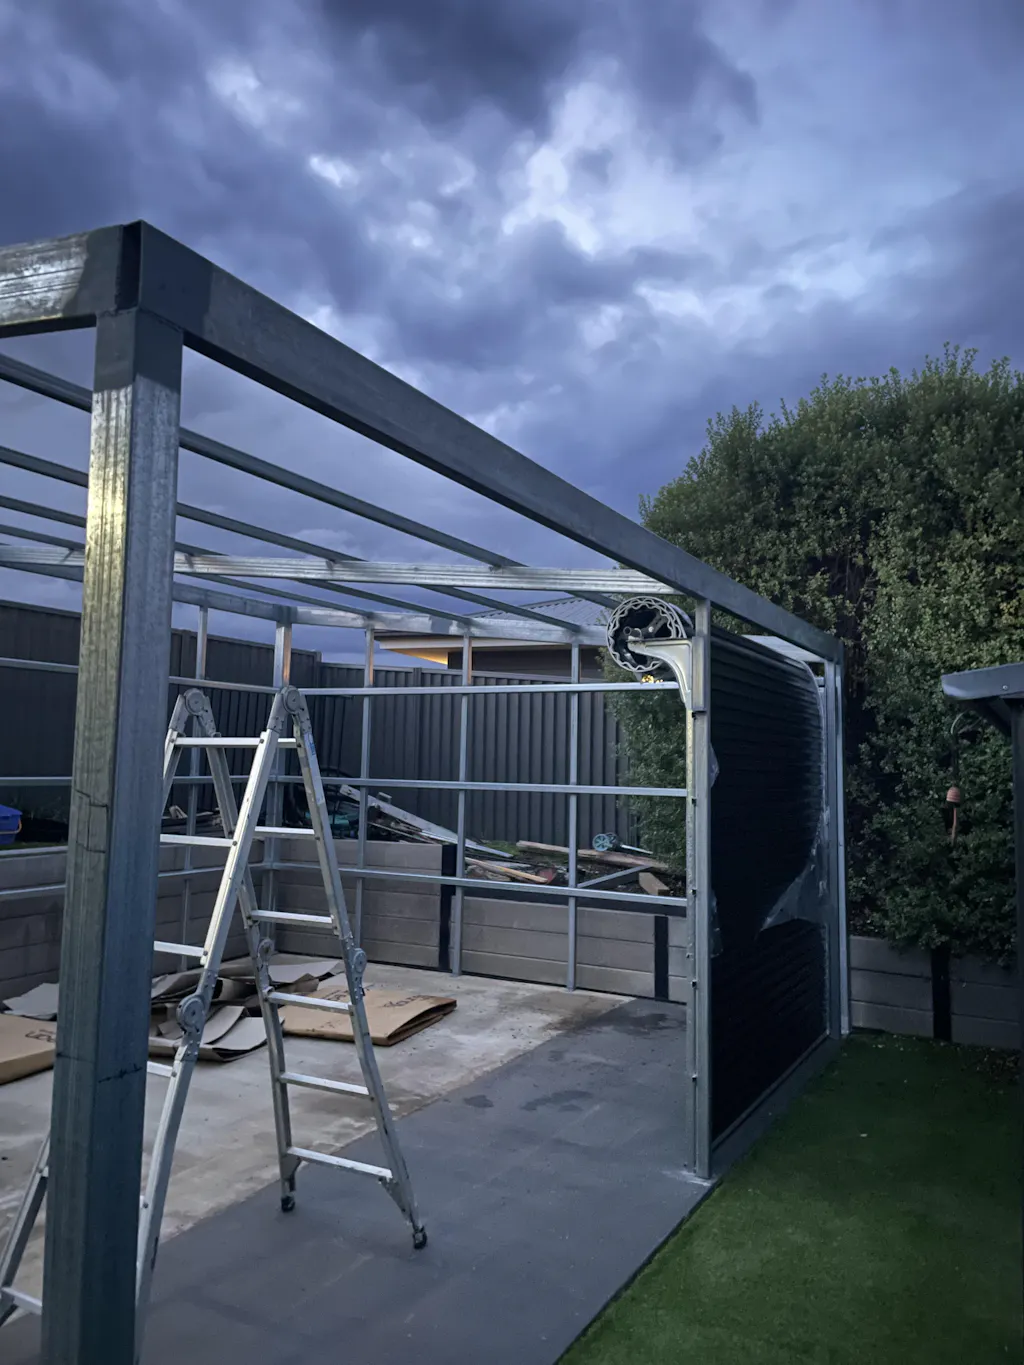
Position the brackets and lift the door
You need to mark the bracket positions on each side wall before drilling any holes. Measure and mark your roller door width on both walls of the opening, then add the extra width specified in your door's installation instructions for the inside line of each bracket. Hold the first bracket against your marked position and use a pencil to mark through each mounting hole.
Drill pilot holes at your marked positions using the appropriate bit size for your wall material and fasteners. Bolt the first bracket securely into place, ensuring it sits level and flush against the wall surface. Walk to the opposite side of the opening and use your laser level to project the exact height of the first bracket onto the second wall. Mark and drill the second bracket location, then bolt it firmly into position.
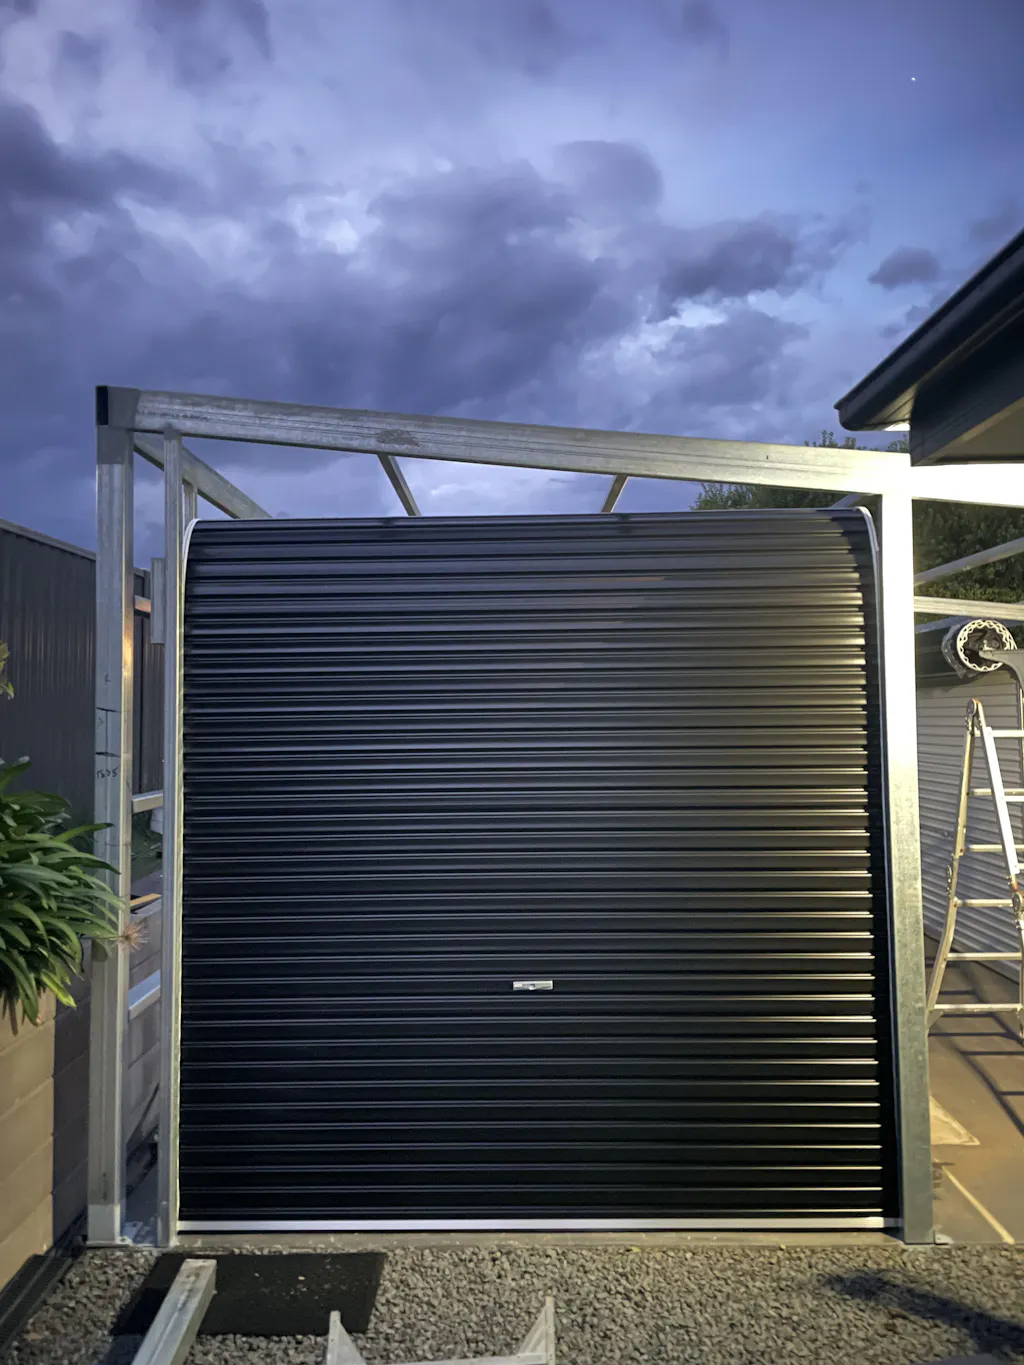
Check that your axle length matches the bracket spacing before attempting to lift the door. You and your helper should now carefully lift the rolled door using safe lifting techniques or rope assistance methods. Position the rolled door so the curtain will roll down the front when you rotate it forward. Rest the axle ends into the bracket slots, then loosely secure the assembly using the supplied U-bolts and saddles. Centre the door within your opening, rotating the curtain until the bottom edge faces inside the garage.
Apply spring tension and release strapping
You must now attach the axle permanently to both brackets. Fit the washers and nuts onto the axle ends and tighten them securely. This locks the axle in position and allows you to begin tensioning the spring mechanism safely.
Rotate the entire door forward to apply tension to the spring, counting each full rotation carefully. Your specific door model requires a precise number of turns based on its size and weight. Check your installation manual for the exact rotation count, as under-tensioning creates a heavy door that binds in the tracks, while over-tensioning makes the door fly upward uncontrollably. Most residential doors require between 1 and 1.5 full rotations depending on height and curtain weight.
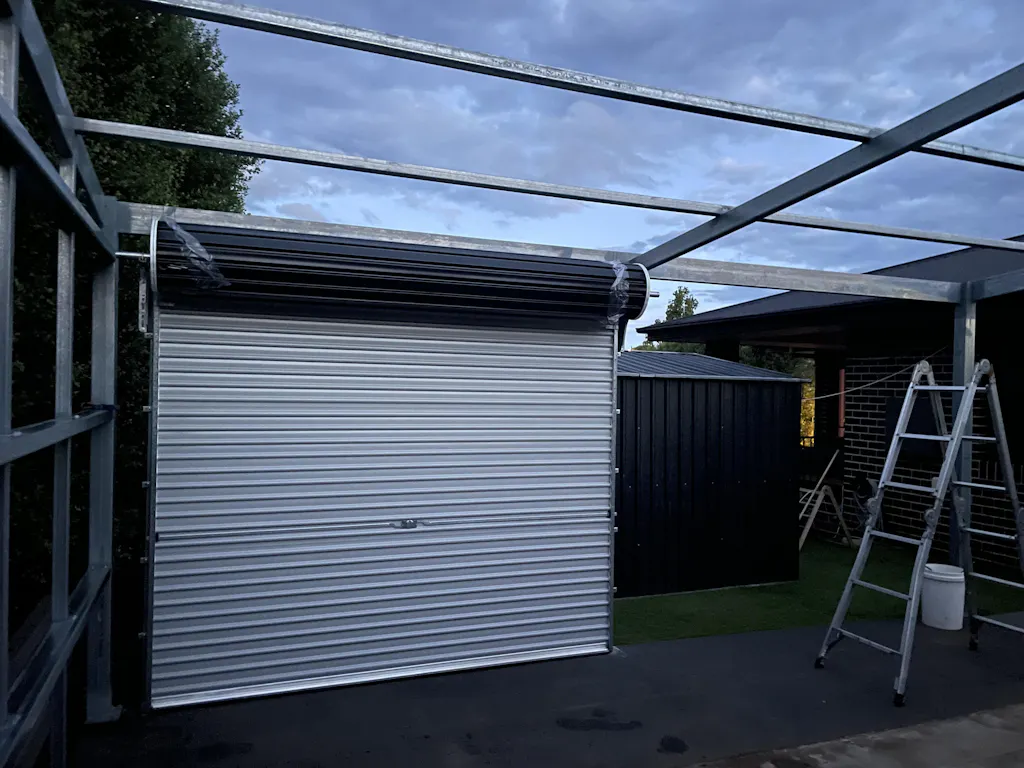
Only cut the protective strapping after you have applied the correct number of spring tension rotations and your helper confirms they are ready to control the door movement.
Your helper must maintain firm control while you cut through the strapping with your Stanley knife. Work slowly and deliberately as you cut each strap, watching for any unexpected door movement. Once you remove all strapping, pull the curtain down gently and position your wooden chock to hold the door at the correct height. The chock prevents the door from rolling back up while you install the guide tracks in the next step. Test the spring tension by removing the chock briefly and checking whether the door stays in position or tries to move up or down on its own.
Step 3. Fit tracks, locks and opener
The guide tracks ensure your door moves smoothly up and down without binding or jumping off its path. You must install these tracks precisely vertical and adjust them carefully before final tightening. Once the tracks sit correctly, you can add your handle, lock mechanism, and optional electric opener to complete the installation.
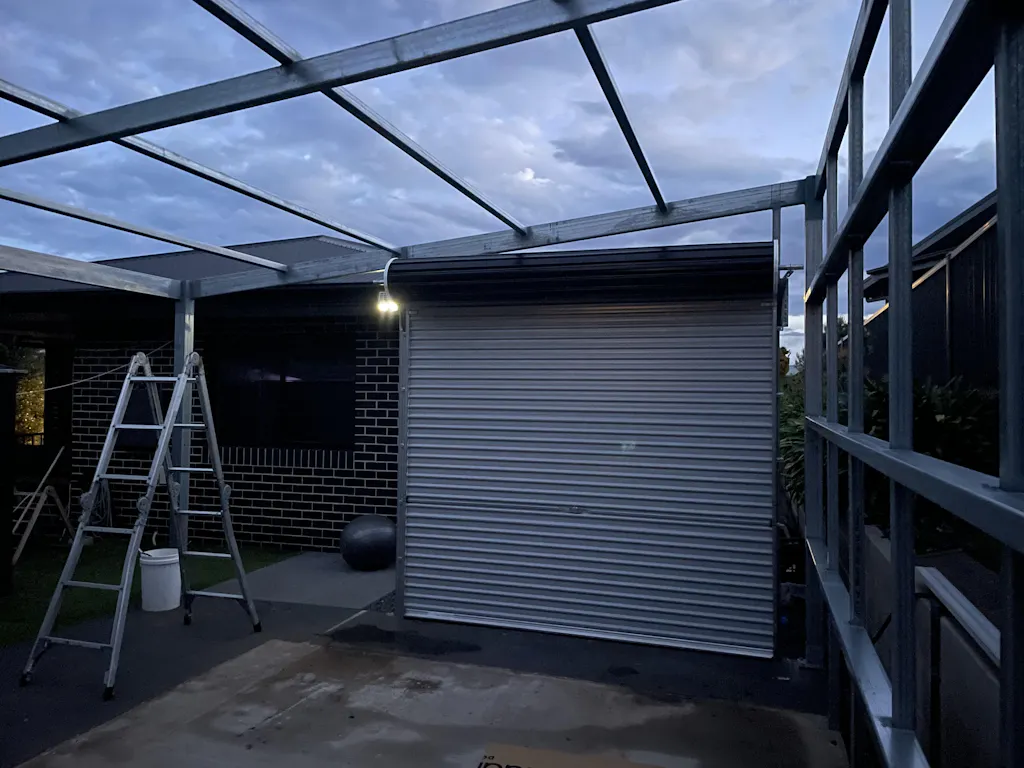
Install and align the guide tracks
Pull your door curtain down until it overlaps the doorway evenly on both sides. Slide the first guide track over the edge of one side of the curtain, positioning it against the wall. The track must capture the edge of the curtain fully while sitting flush against your wall surface. Insert fasteners through the track mounting holes and loosely secure them without fully tightening.
Walk to the opposite side and repeat this process with the second track. Use your spirit level to check that both tracks run perfectly vertical from top to bottom. Even a slight lean causes the door to bind during operation or creates uneven wear on the curtain edges.
Test your door movement by sliding it up and down several times. Watch for any binding points or resistance as the curtain moves through the tracks. Adjust the track positions slightly if needed, ensuring the curtain glides smoothly through its full range of motion. Once you achieve smooth operation, tighten all track fasteners securely using your socket set or drill.
Your door should move freely without forcing when you lift it manually, requiring only light effort to raise or lower the curtain through the tracks.
Attach handle and locking mechanism
Screw the external handle to the outside bottom rail using the pre-drilled holes and fasteners supplied with your door. Position the handle at a comfortable height for you to grasp when opening the door manually. If your door includes a weight bar for added stability, fit this to the bottom rail now according to your installation manual instructions.
Install any locking mechanisms by following the specific instructions provided with your lock kit. Most locks attach through the bottom rail and engage with the guide tracks when you turn the key.
Connect the door opener
Skip this step if you ordered a manual door. Mount your electric opener motor above the centre of the door using the supplied brackets, then attach the drive shaft to connect the motor to the door barrel. Install safety sensors on both sides of the opening, ensuring they align correctly. Plug the system into your power outlet and program the travel limits and force settings according to the opener manufacturer's instructions. Test the automatic operation several times before relying on the opener for daily use.
Extra tips and maintenance checks
Your newly installed roller door needs minimal ongoing maintenance, but regular checks every six months keep it operating smoothly and extend its lifespan. These simple tasks take less than 30 minutes and help you catch potential problems before they require expensive repairs. After you install a roller garage door, establishing this maintenance routine ensures years of reliable performance.
Test the door balance
You should perform a balance test to verify your spring tension remains correct after the initial installation and every six months thereafter. Close the door completely, then lift it manually to waist height. The door should stay in place without moving up or down when you release it. If the door drifts upward or drops, your spring tension needs adjustment and you should follow the re-tensioning procedure from your installation manual or contact a professional for assistance.
A properly balanced door requires minimal effort to lift and stays stationary when you stop at any point in its travel.
Six-monthly cleaning routine
Wipe down the door curtain using a soft cloth or sponge with mild detergent and warm water, then rinse immediately with clean water to prevent residue buildup. Inspect the brackets, springs, tracks, fasteners, cables, and weather seal for signs of wear or damage during this cleaning session. Apply grease or oil to the springs to keep them operating quietly, but avoid lubricating the locking mechanism as this causes malfunctions. Clean your tracks occasionally with a spirit-based cleaner rather than oiling them, as oil attracts dirt and debris that impedes smooth door movement.

Next steps for your new roller door
You now have the complete knowledge to install a roller garage door confidently and safely from start to finish. Test your door thoroughly over the first week of use, checking that it operates smoothly without binding and the spring tension remains balanced through multiple open and close cycles. Keep your installation manual and warranty documentation in an accessible location for future reference when you need part numbers, adjustment instructions, or coverage details.
Document your installation date in your home maintenance records and create calendar reminders for your six-monthly maintenance checks. Take photos of your completed installation to reference the correct track alignment and component positions if you ever need to make adjustments down the track. If you need a replacement door, additional accessories, or technical support for your installation, visit Door Supply for quality Australian-made roller doors and expert guidance from our team.